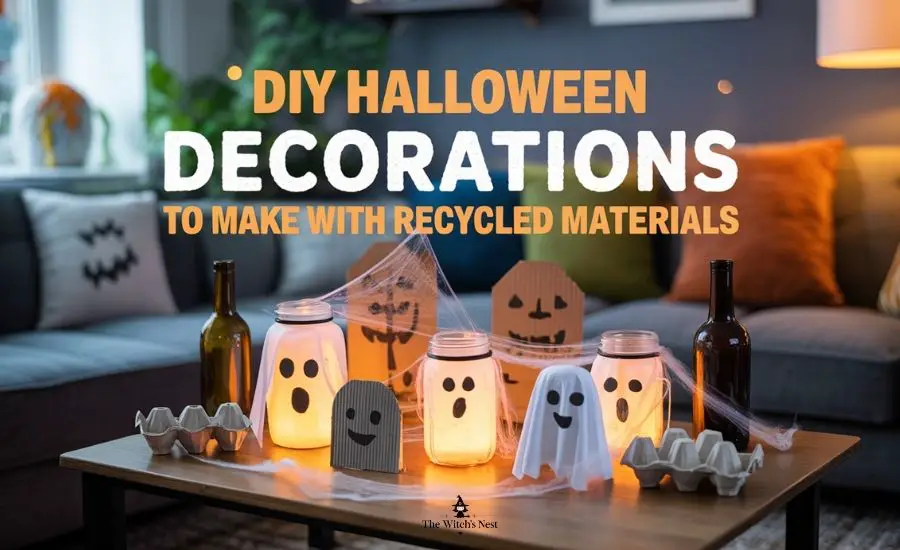
DIY Halloween Decorations to Make with Recycled Materials
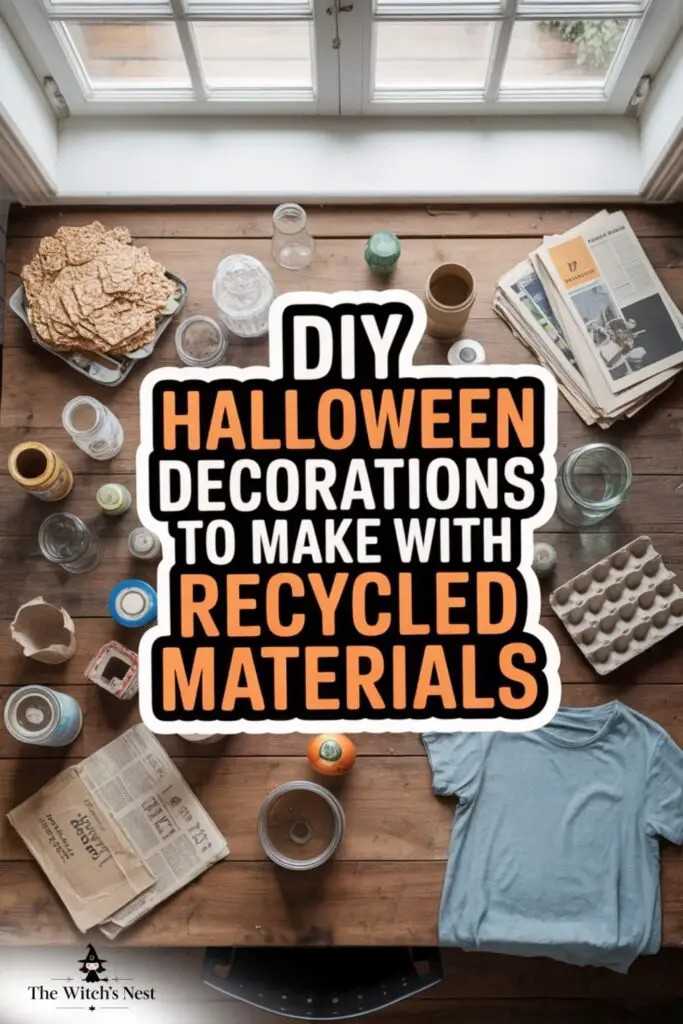
I was cleaning out my kitchen one day—recycling boxes, rinsing jars, tossing old newspapers—and suddenly thought, «Wait… this is literally Halloween decor just waiting to happen.»
And that’s how it started.
What began as a random decluttering session turned into a full-on haunted house transformation… all made with things I already had at home. No craft store run, no spending spree. Just trash turned into treasure—and a little hot glue magic.
If you’ve ever looked at a cereal box and thought “coffin,” or eyed an old t-shirt like “ghost material,” then this post is for you. And even if you haven’t (yet), don’t worry—I’ll show you how to turn your everyday recyclables into spooky, stylish Halloween decor that costs you exactly $0.
Let’s haunt… sustainably. 👻♻️
♻️ Why Recycled Halloween Decor Is Actually Genius
Aside from being budget-friendly, making your own Halloween decorations from recycled materials is:
Eco-conscious – less waste, more creativity.
Unique – no one else will have the same setup as you.
Satisfying – turning old junk into spooky masterpieces? Chef’s kiss.
Kid-friendly – great for crafting with little ones.
Unexpectedly aesthetic – think rustic, witchy, vintage, earthy vibes.
Plus, the imperfections make it even spookier.
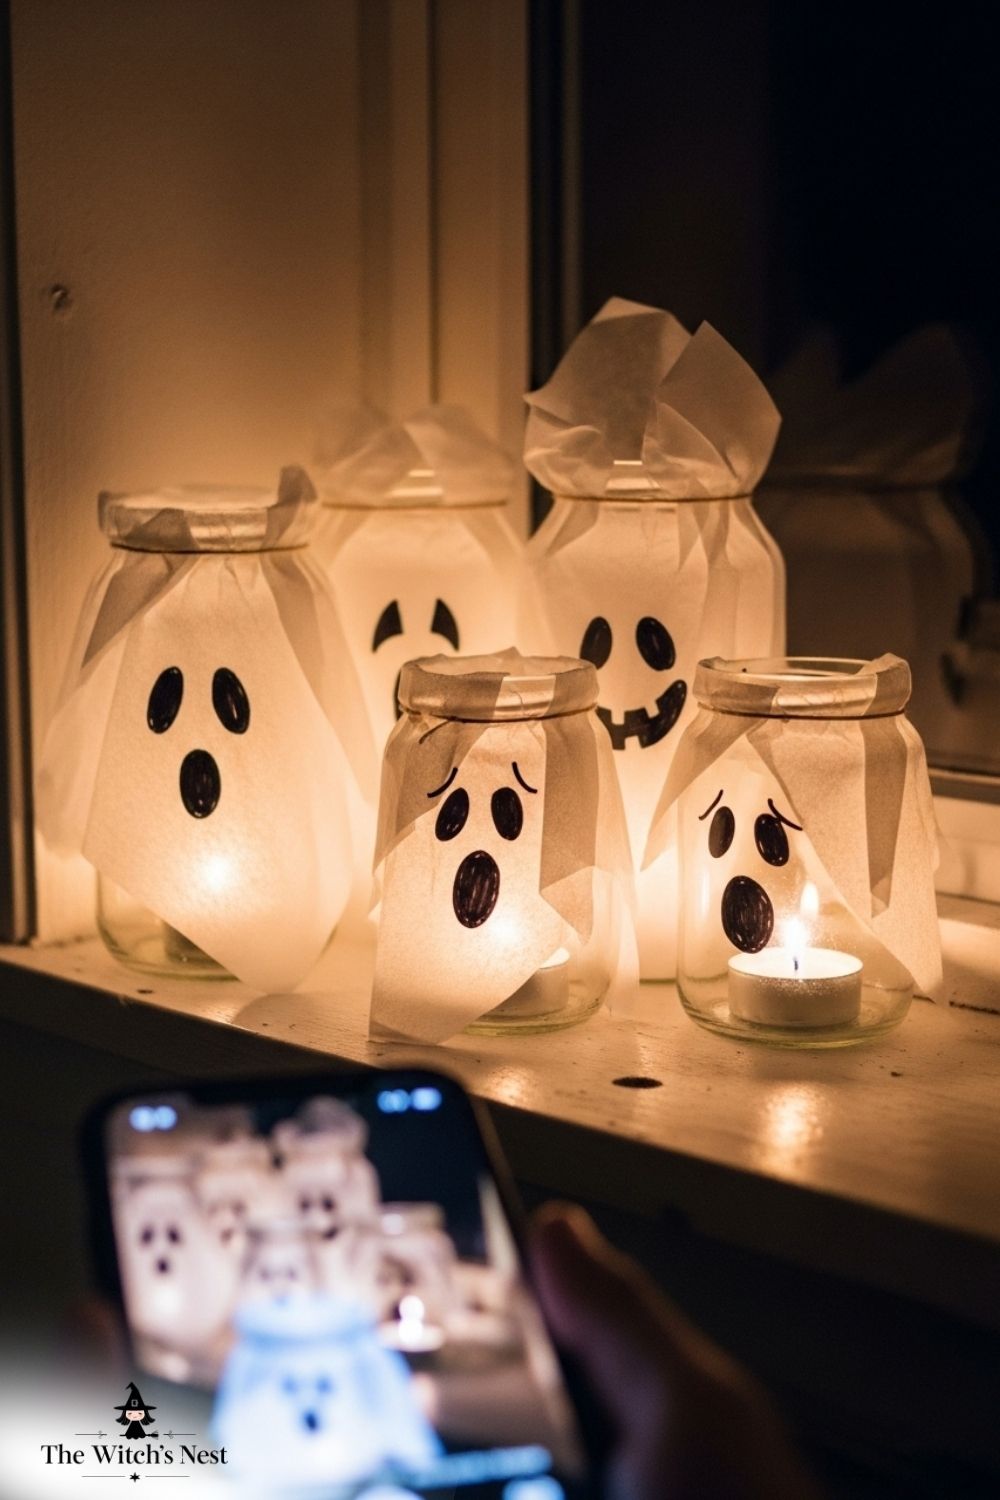
🧻 1. Ghost Lanterns from Empty Jars
Old pasta sauce jars? Time to let them haunt.
What You Need:
Clean glass jars (mason, spaghetti, jelly, etc.)
White tissue paper or paper towel
Glue stick or mod podge
Black marker
Tea lights (LED or real)
How to:
Cover the jar with a thin layer of glue.
Wrap it with tissue paper or white paper towel.
Draw spooky or silly ghost faces with black marker.
Drop in a tea light and light it up.
👻 Line them up on a windowsill or stairway for an eerie glow.
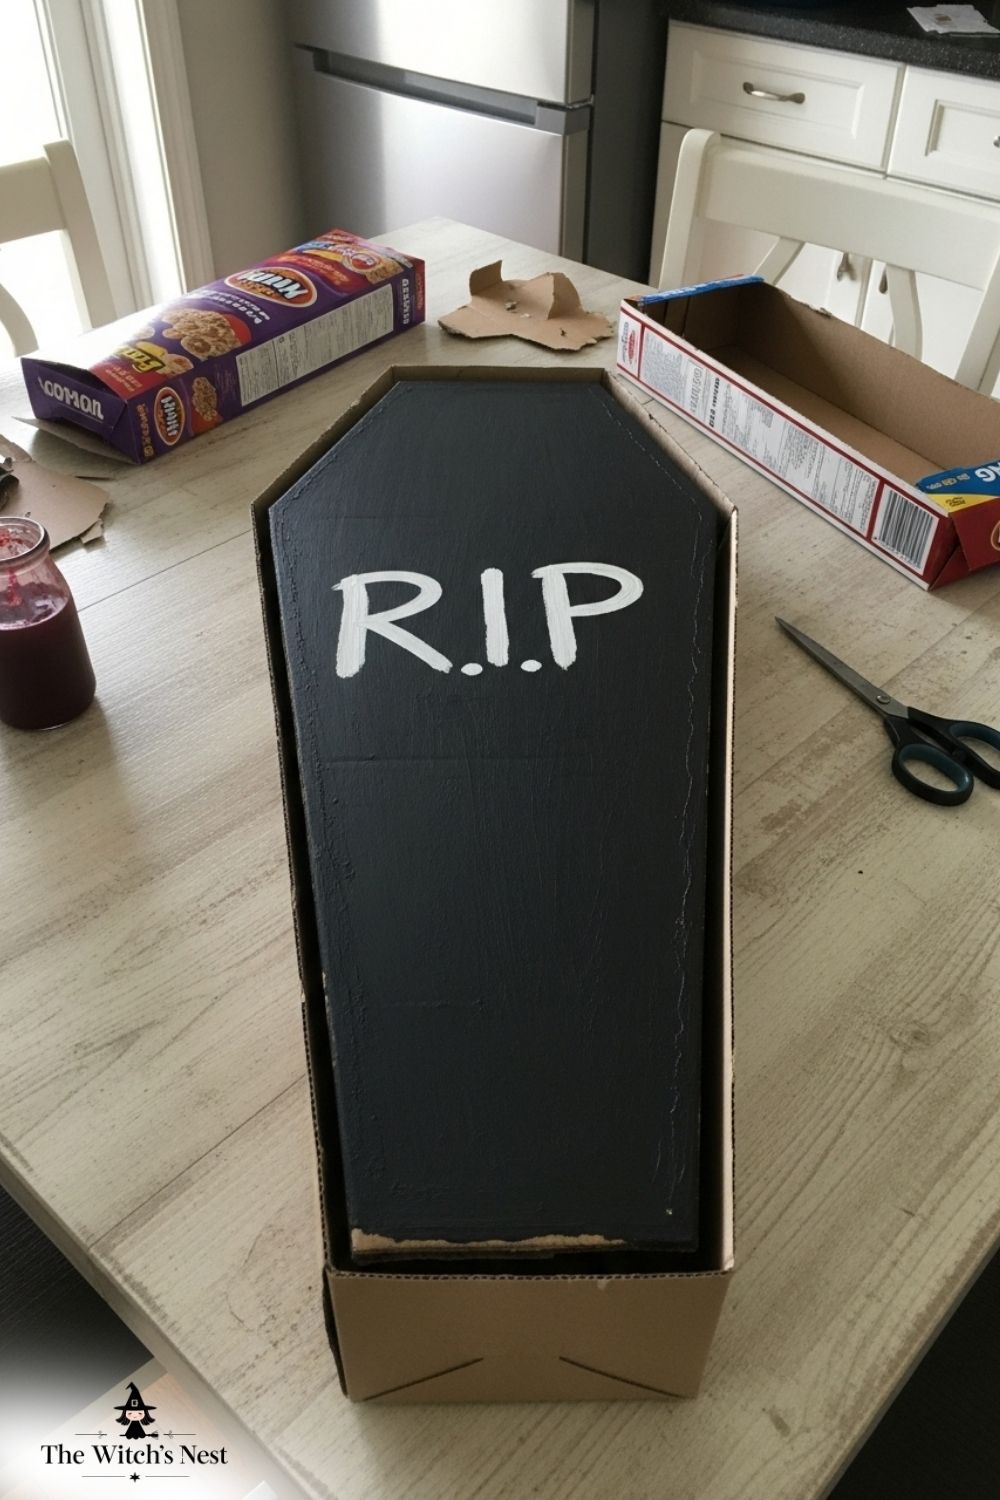
📦 2. Cereal Box Coffins
Empty cereal boxes are coffin-shaped if you squint a little—and that’s good enough for us.
What You Need:
Cereal boxes (or other similar cardboard)
Scissors
Black paint or markers
White paint or chalk
Optional: cotton balls or gauze
How to:
Cut the box into a rough coffin shape.
Paint it black and let dry.
Draw cracks, crosses, or “RIP” messages.
Add cotton or gauze for texture.
⚰️ Display flat on a wall or as table decor.
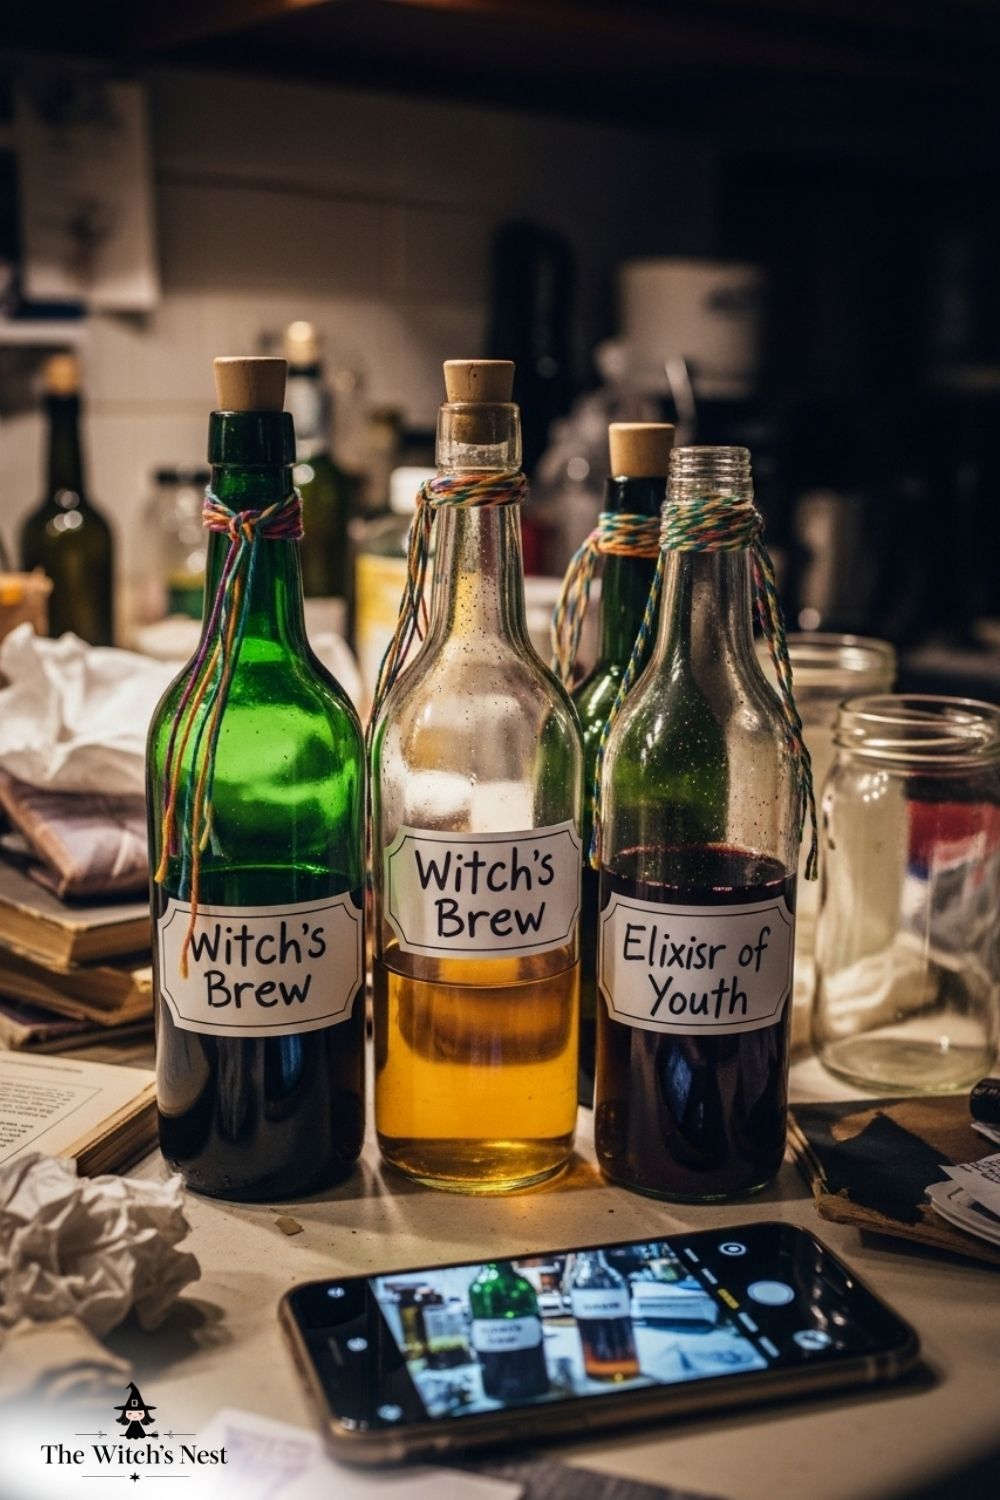
🧪 3. Potion Bottles from Recycling Bin Finds
There’s something magical about old bottles and jars. Especially when filled with colored liquid and labeled Spider Breath or Dragon Tears.
What You Need:
Empty bottles (wine, soda, vinegar, etc.)
Food coloring
Water
Labels (handwritten or printed)
String or twine
How to:
Clean bottles and remove any labels.
Fill with water and 1–2 drops of food coloring.
Label them creatively.
Wrap with string or aged paper.
🧙♀️ Bonus points if you add glitter, plastic bugs or floating beads.
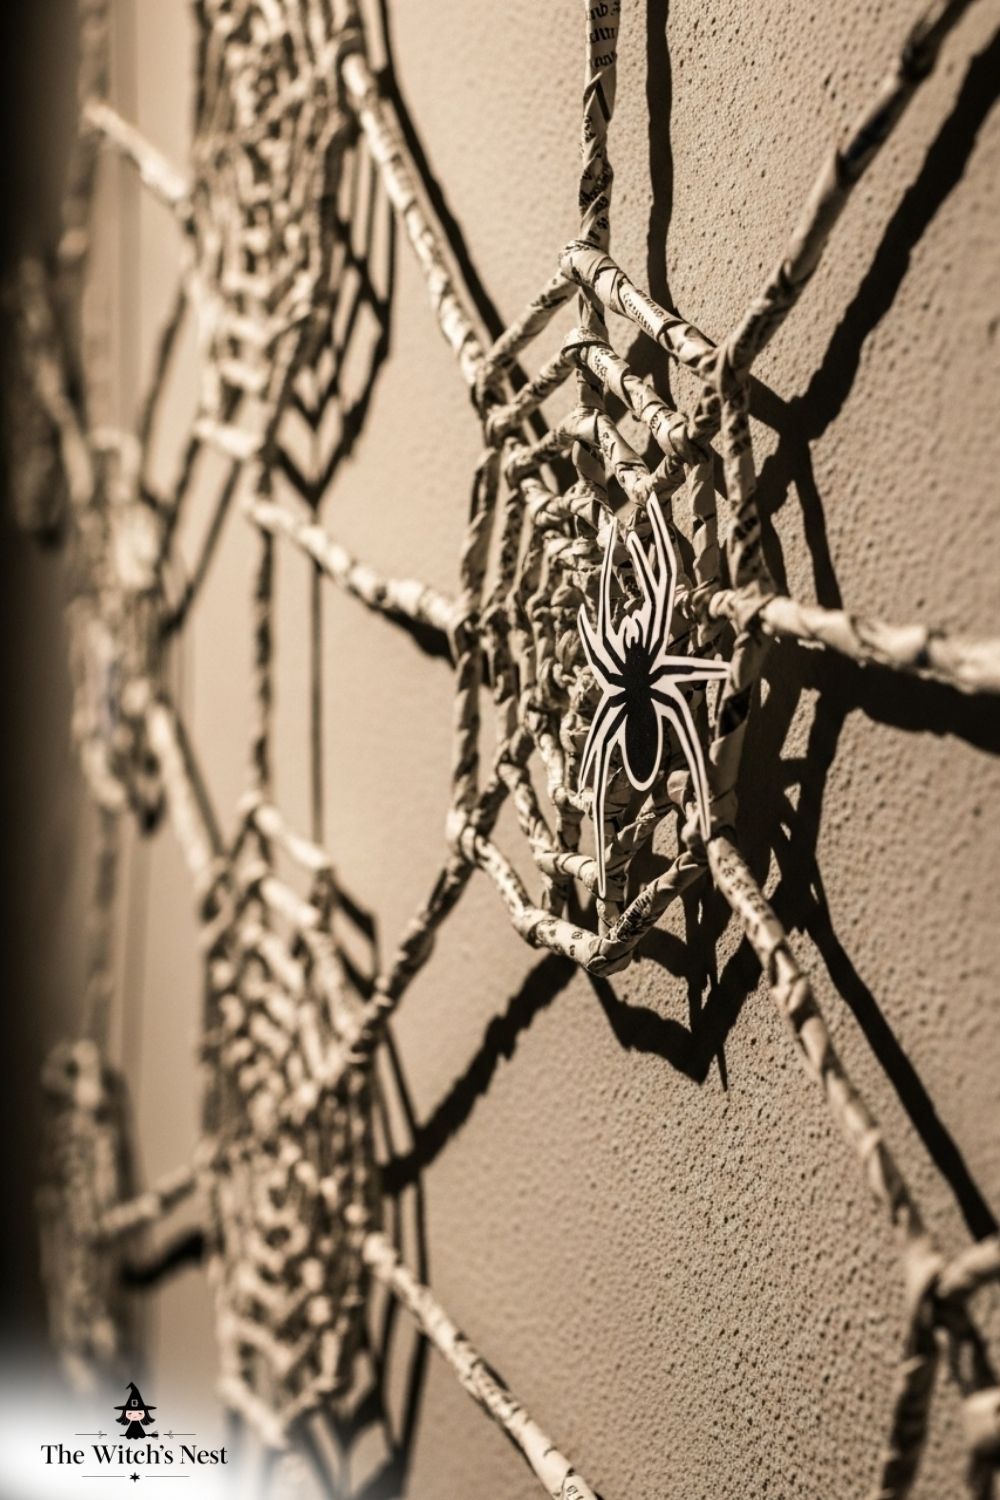
📰 4. Newspaper Spider Webs
You don’t need stretchy store-bought web to give your space that spooky energy.
What You Need:
Old newspaper or magazine pages
Scissors
Tape or glue
Marker (optional)
How to:
Cut newspaper into circular web shapes or long thin strips.
Twist and crisscross to form webs.
Use glue or tape to hold the pieces.
Add drawn-on spiders or small cutouts.
🕷️ Stick them to walls, windows, or even your front door.
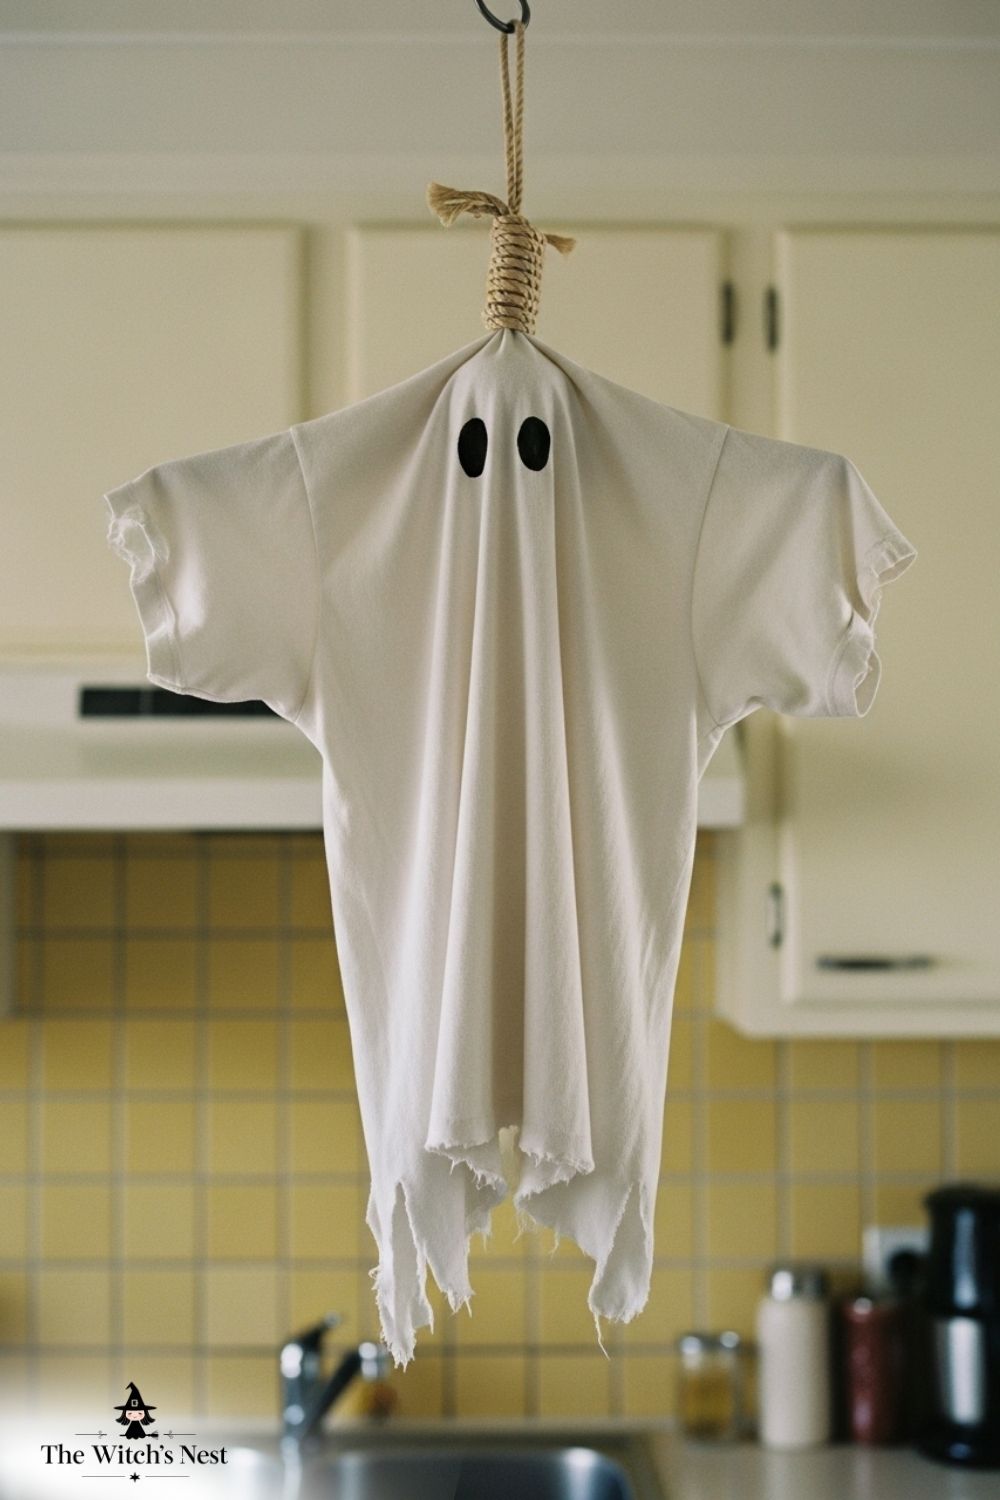
👕 5. T-Shirt Ghosts
That white T-shirt you haven’t worn in 3 years? Yeah, it’s a ghost now.
What You Need:
Old white t-shirts
Ball or crumpled paper for the head
String or yarn
Black marker
How to:
Place the ball/paper in the center of the shirt.
Wrap it to form a ghost head and tie with string.
Draw eyes and mouth.
Hang it from the ceiling or in a tree outside.
👻 Cute, simple, and totally free.
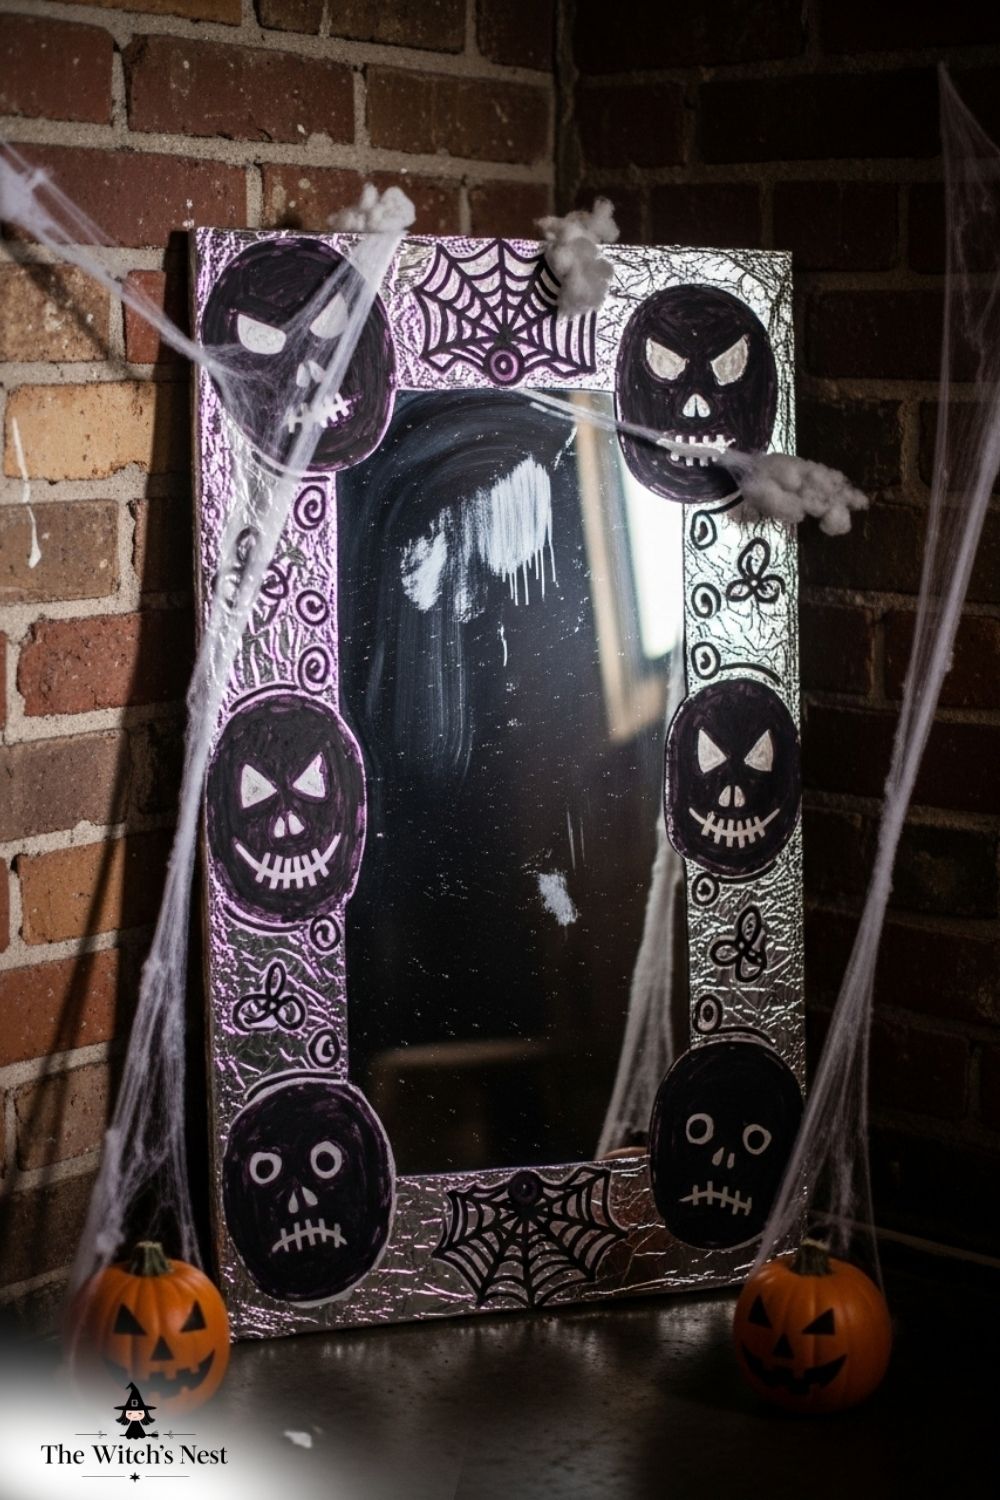
🪞 6. Haunted Mirror Frame from Cardboard
Use leftover cardboard to fake an antique haunted mirror.
What You Need:
Cardboard
Aluminum foil
Black paint
Hot glue
Scissors
How to:
Cut cardboard into a mirror or picture frame shape.
Glue aluminum foil to the inside (shiny side out).
Paint the cardboard black or grey.
Smudge the foil with dark marker or soot for an aged look.
💀 You can add a printed ghost photo for extra scare.
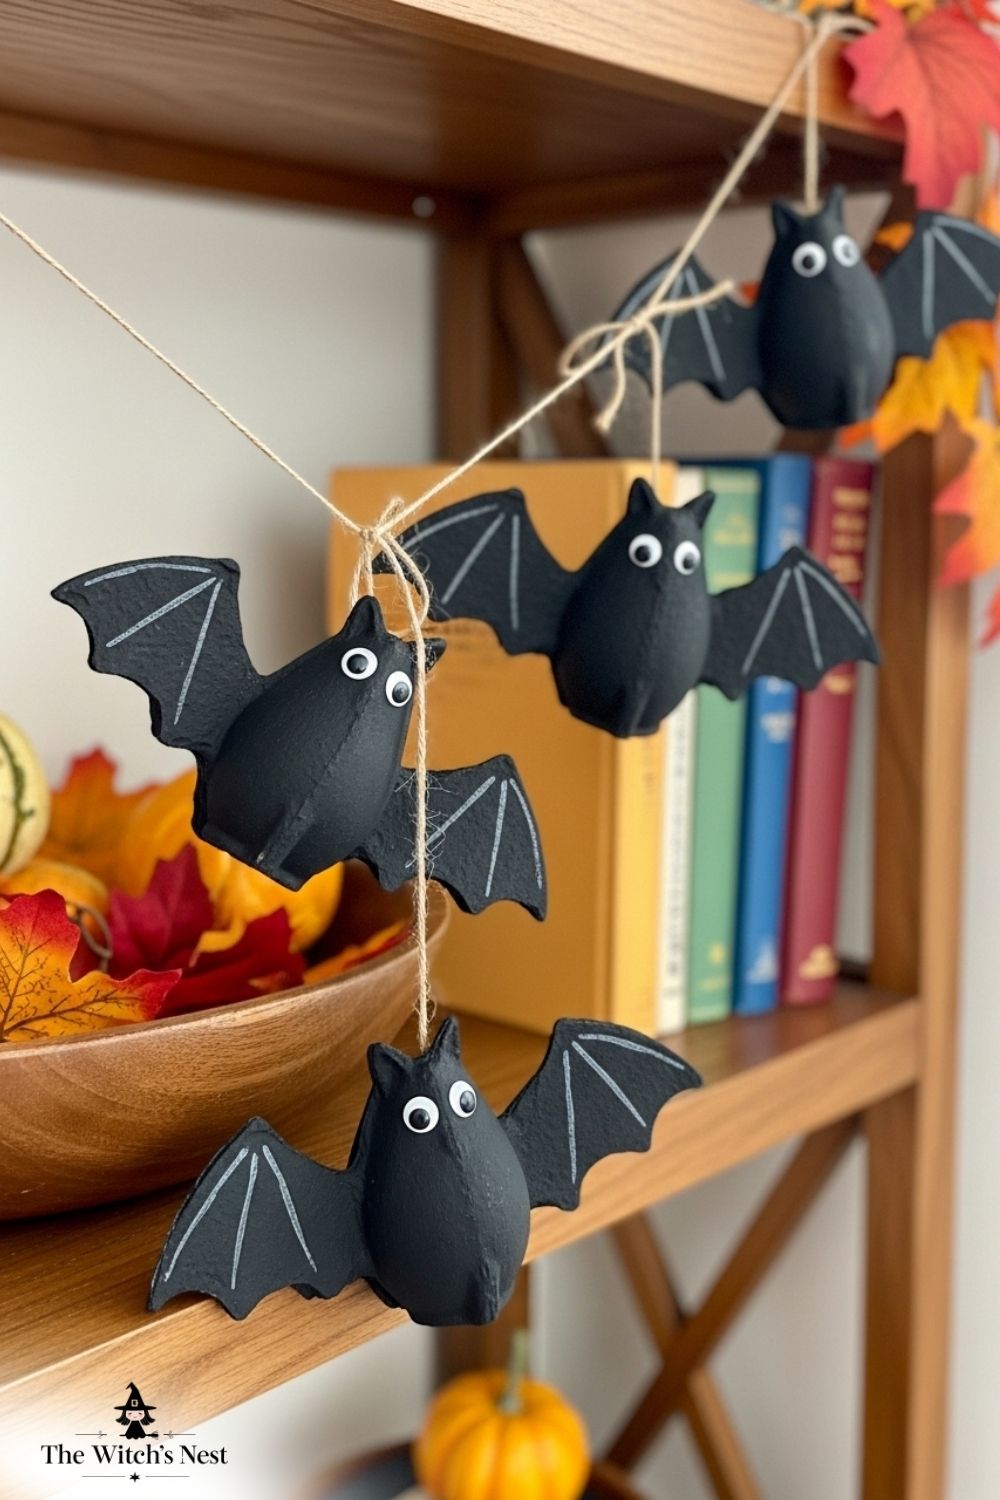
💡 7. Egg Carton Bats
Recycling and spooky wall decor? Say less.
What You Need:
Cardboard egg cartons
Scissors
Black paint
Googly eyes or paper eyes
String or tape
How to:
Cut the cartons into bat shapes (3 cups per bat).
Paint them black and let dry.
Add eyes and hang with string.
🦇 Perfect for walls, windows or suspended from shelves.
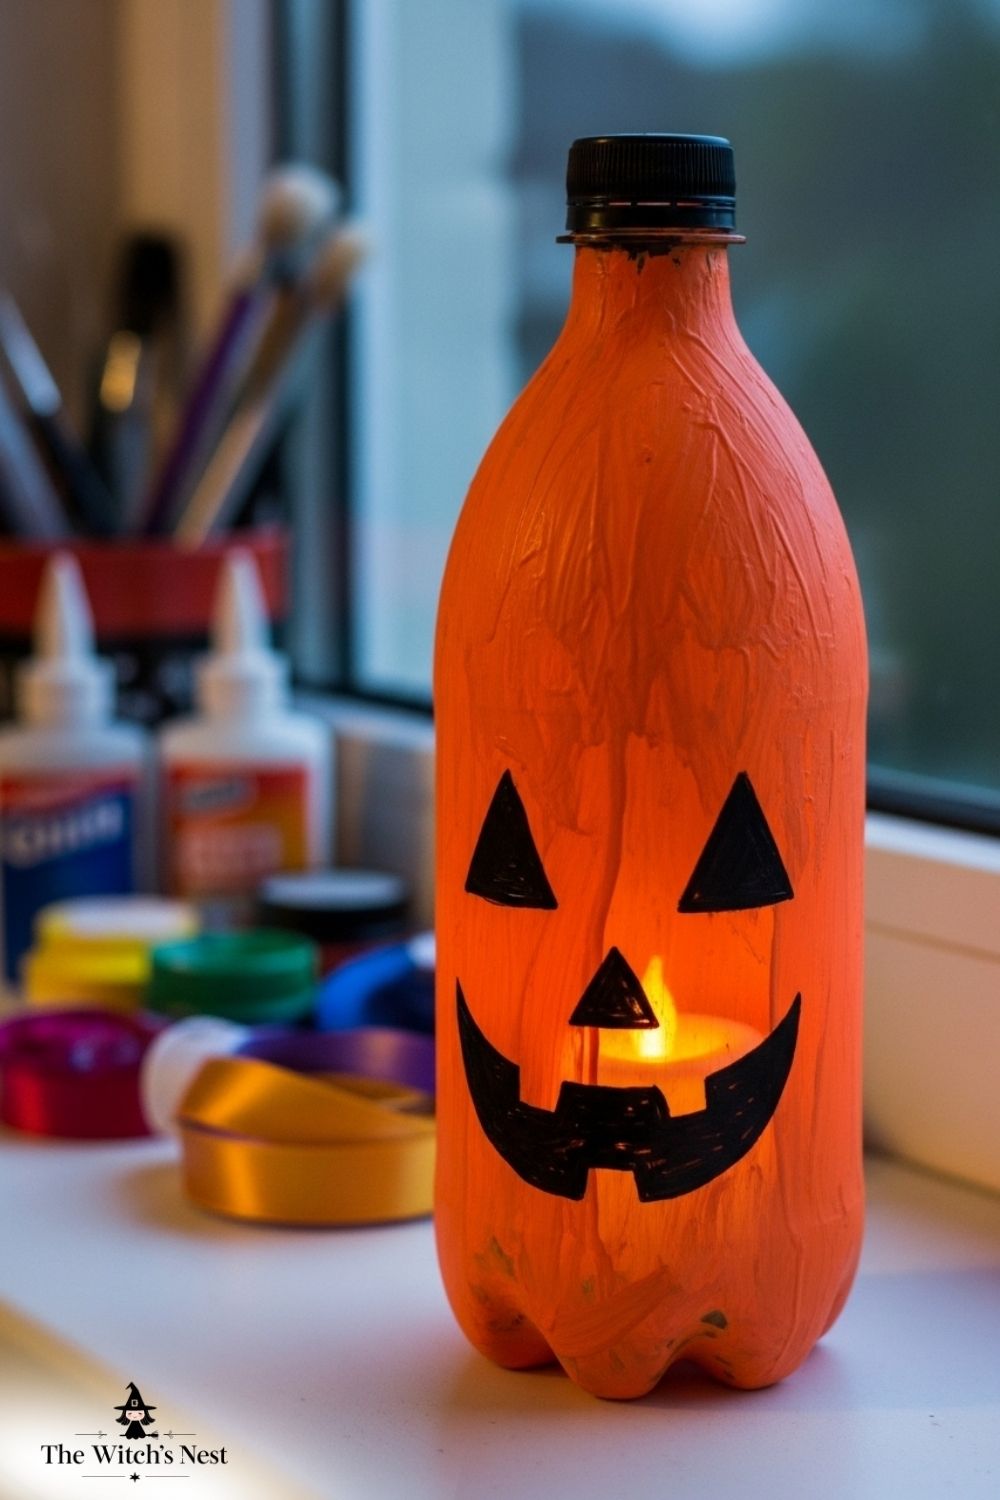
🧴 8. Plastic Bottle Jack-O’-Lanterns
Those big orange soda bottles? You already know.
What You Need:
Plastic bottles (orange or paint them orange)
Black marker or cut-out vinyl
Knife or scissors
LED light (optional)
How to:
Cut the top of the bottle if needed.
Draw or stick on a jack-o’-lantern face.
Drop in a battery tea light.
🎃 They’re super light and kid-safe.
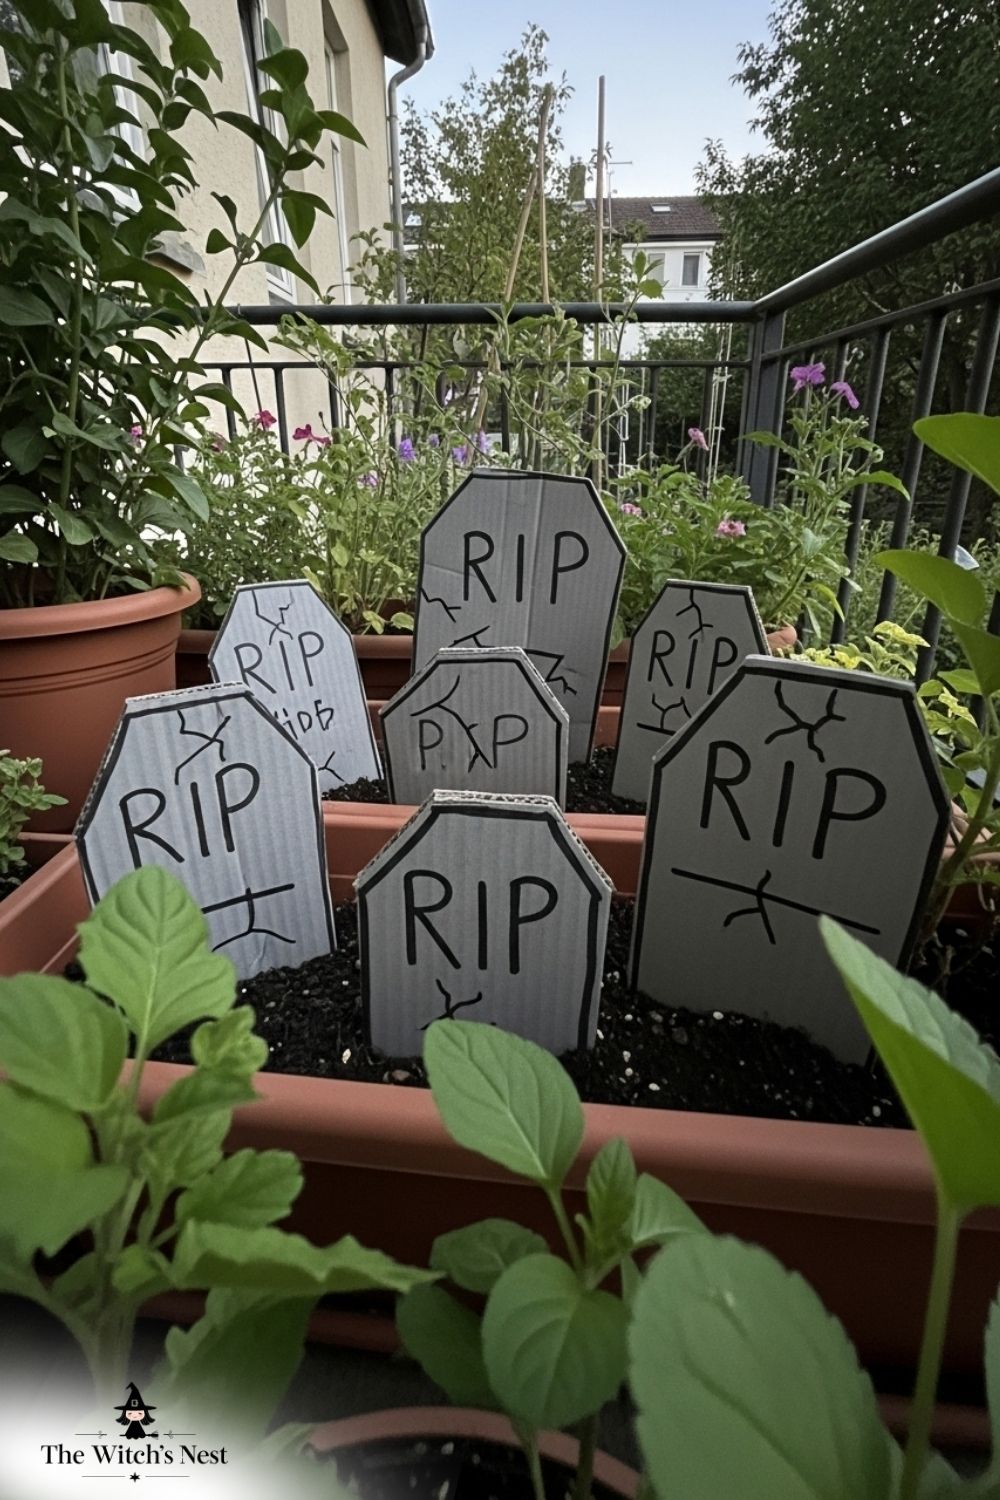
📬 9. Cardboard Tombstones
If you’ve got a few shipping boxes lying around… you’ve got a graveyard.
What You Need:
Cardboard
Box cutter
Grey and black paint
Chalk or white paint pen
How to:
Cut tombstone shapes.
Paint grey and shade with black.
Write creepy names or dates.
Prop them in your yard with garden stakes or bricks.
🪦 “RIP WiFi” or “Here Lies My Motivation” = Halloween gold.
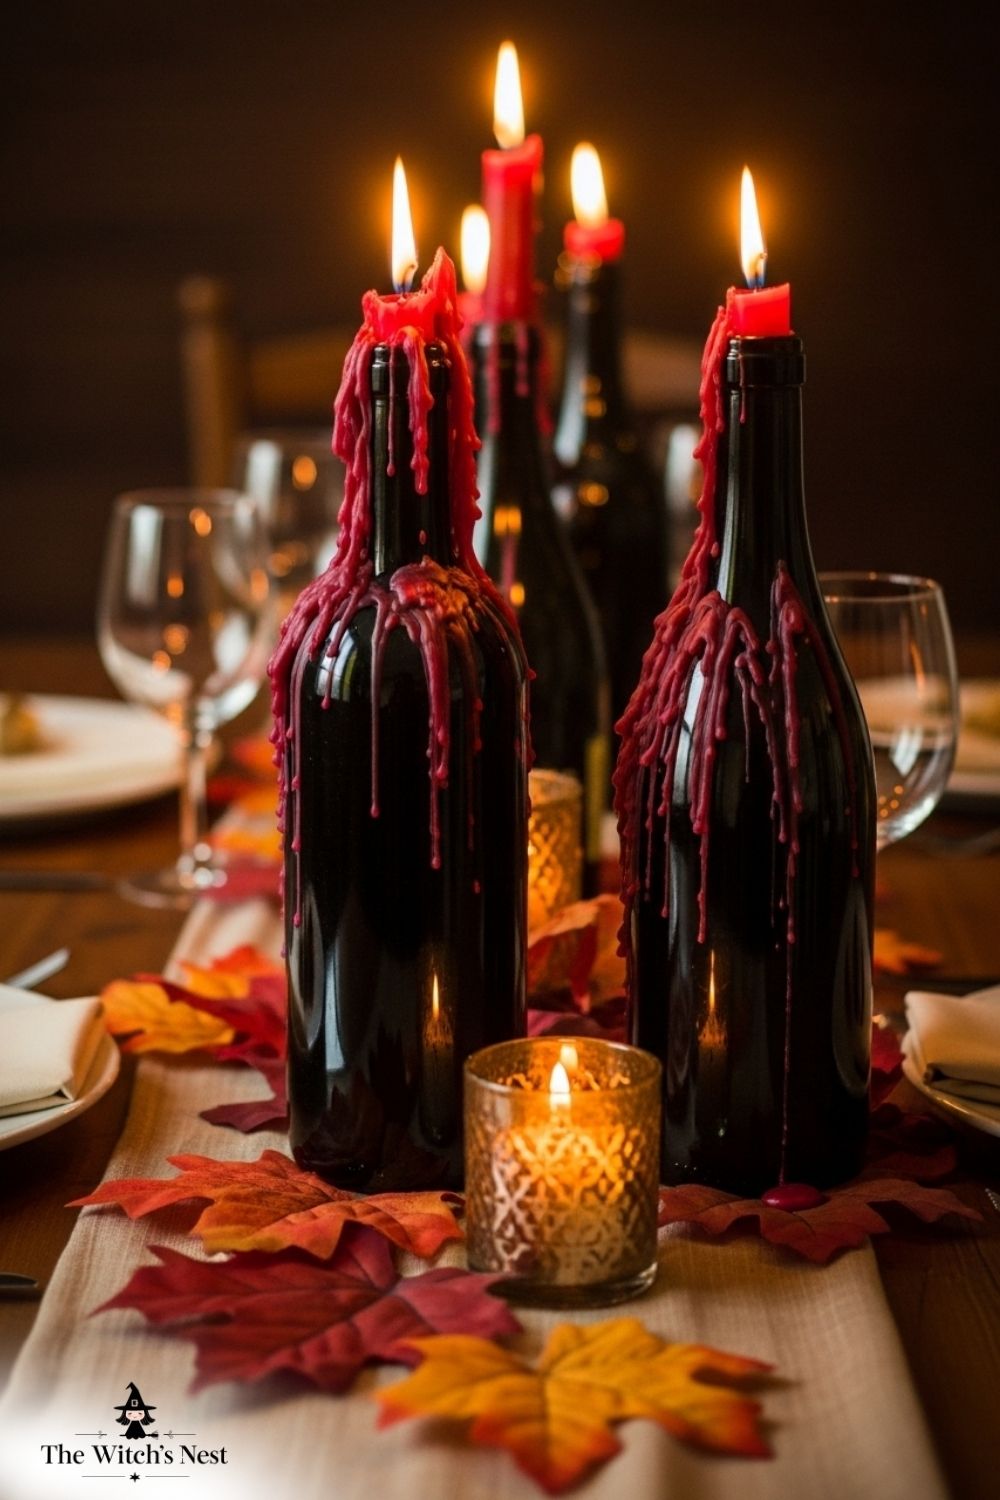
🕯️ 10. Wine Bottle Candle Holders
Turn last weekend’s wine night into Gothic table goals.
What You Need:
Empty wine bottles
Black or red candles
Optional: cobwebs or ribbon
How to:
Place taper candles in bottle tops.
Let wax drip dramatically down the sides.
Surround with leaves or old book pages.
🕯️ Instant witchy dinner party.
🧙 Final Thoughts: Spooky, Sustainable & So Easy
Creating Halloween decor doesn’t have to mean spending tons or buying plastic that ends up in the trash. Some of the best (and creepiest) decorations come straight from your recycling bin.
🧡 Plus, the joy of turning something useless into something eerie and cool? Chef’s kiss. You get to be crafty, spooky, and kind to the planet—all at the same time.
So tell me…
Which recycled material are you dying to turn into Halloween decor first?
Drop it in the comments and let’s scare sustainably this spooky season! ♻️👻
Deja una respuesta